Cookie Ice Cream Cake Decorated For a Birthday. Birthday Cake and Ice Cream In One Delicious Treat. There are certain events in a person's life that call for birthday cake ice cream and one of them happened to be my now four-year-old's…well… birthday! Ice cream cakes provide endless opportunities for decorating.
 I made this cake as a birthday cake for my mother.
Her favorite ice cream flavor is Black Rap\spberry and her favorite cookie is an Oreo.
I softened both the caramel and hot fudge for a minute in the microwave and used coffee and cookie dough ice creams with the caramel between; freezing.
You can have Cookie Ice Cream Cake Decorated For a Birthday using 5 ingredients and 12 steps. Here is how you achieve that.
I made this cake as a birthday cake for my mother.
Her favorite ice cream flavor is Black Rap\spberry and her favorite cookie is an Oreo.
I softened both the caramel and hot fudge for a minute in the microwave and used coffee and cookie dough ice creams with the caramel between; freezing.
You can have Cookie Ice Cream Cake Decorated For a Birthday using 5 ingredients and 12 steps. Here is how you achieve that.
Ingredients of Cookie Ice Cream Cake Decorated For a Birthday
- It's 1 of basic raw dough, 1 batch Cookie Dough (Plain -.
- Prepare 1 of basic raw dough, 2 batches Cookie Dough (Cocoa -.
- Prepare 1 of i used 8 ice cream bars Store Bought Ice Cream (Your choice, can be mixed).
- You need 200 ml of Whipped cream.
- Prepare 2 tsp of Caster (superfine) or granulated sugar.
Learn how to decorate a beautiful ice cream cake or regular cake in an hour or less! Personalize any store bought cake with this simple step-by-step Cake Decorating Tutorial! Once it's ready, add the final coat of whipped cream then pop it back in the freezer for a bit. How to Decorate a Birthday Cake.
Cookie Ice Cream Cake Decorated For a Birthday step by step
- Make the cookie dough. Arrange it to fit into the pan the you will be using. Wrap with plastic wrap, place on a tray, and put in the freezer..
- Bake the cookie dough and then let it cool. Layer the cookie and ice cream on a dish..
- Cover with plastic wrap, let it chill in the freezer until you are ready to decorate it..
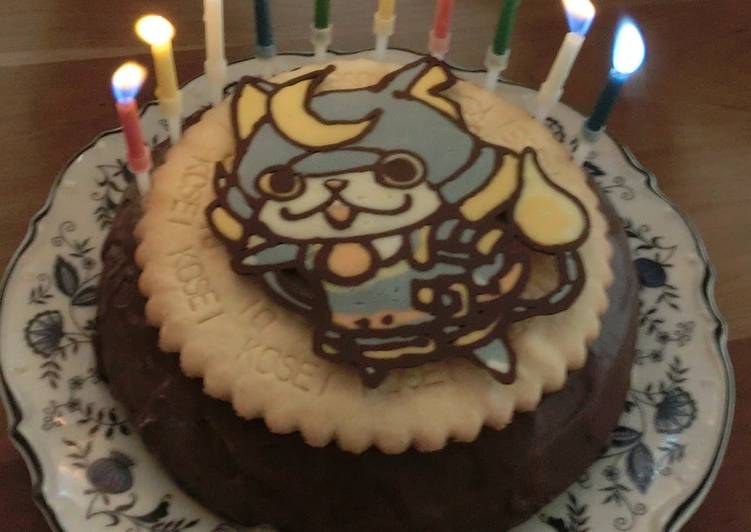
- If you are leaving the shape as is, decorate with whipped cream, cookies, candles, etc., and it's finished..
- (Finished Product #1) I placed a toy right in the middle..
- (Finished Product #2) After chilling a normal round cake, I coated it with crushed cookies and chocolate cream, and then placed it on a plate..
- (Finished Product #3) I combined two difference sized rings to form an '8.' I wrote the words with jam..
- (Finished Product #4) It's supposed to be a '9,' but it could also be a '6.'.
- Here's what it looked like before I covered it with whip cream..
- (Finished Product #5) I covered the cake in whip cream and used store-bought snacks to build the spires and walls to make a castle! I let my kid draw the flags..
- Instead of using cookies in the center, I used store-bought castella cake. The ice cream is homemade. I used saskatoon berry sauce to make a marble pattern..
- After celebrating, cut the cake into individual slices and wrap them each up separately so that they will be easy to eat later..
Ice Cream Sandwich Cake - The Girl Who Ate Everything. My son's birthday is at the end of July and every year on his birthday it Want to throw a birthday celebration kids will go Dada over? Invite some young visionaries to party arty with these wildly. Ice Cream Cone Cupcakes: such a fun treat for a birthday party! Try this easy hack that will make They'd be great for a class party too.